Aquaponics (Home Setup)
- Scott Swanson
- Jun 23, 2020
- 3 min read

The Problem
Growing up in the midwest I never realized how far the produce I wanted to eat in January needed to travel to make it to my dinner table. Tomatoes that I bought in the winter were picked green, traveled thousands of miles in a gas filled semi (to keep them from spoiling with the air), just so they could ripen, unblemished and non-nutritious at my local grocery store. I needed to figure out how I could feel better about the veggies I was eating during the winter.


I started researching indoor gardening. This quickly turned into researching Hydroponics only to realize that I didn't like the idea of adding straight nutrients to water to feed plants. Through my research I learned about Aquaponics. Aquaponics is the symbiotic relationship of aquaculture (raising fish) and hydroponics (raising plants without dirt). Low and behold a passion of mine was born.
Step 1: Research
Nitrification is the primary process for how aquaponics functions. Broken down, nitrification is the process where fish poop and pee in the water. The water then is pumped into the grow beds. Helpful bacteria develop on the grow medium and turn the ammonia from the fish waste into nitrites, and then into nitrates (fertilizer). The water returns to the tank clean, and the plants have fertilizer that they then absorb. The process then continues.
After a couple of months of research I decided on the design I wanted to make for my aquaponic setup. I wanted to create a setup that could easily sustain my family (Marchall, baby Madilyn, and me) through the winter. I also wanted to do it for as cheap as possible. The setup I decided on is called a C.H.O.P. (Constant Height One Pump) system. Other system types in case you are curious (4 aquaponics methods)
Grand total I ended up spending about $350 on my aquaponic setup. Here was my general supply list:
50 gallon barrels, food grade (qty 3., price $40 total, source: craigslist)
Large fish tank ($50 w/ the stand, source: craigslist)
Shop lights (free, source: garage)
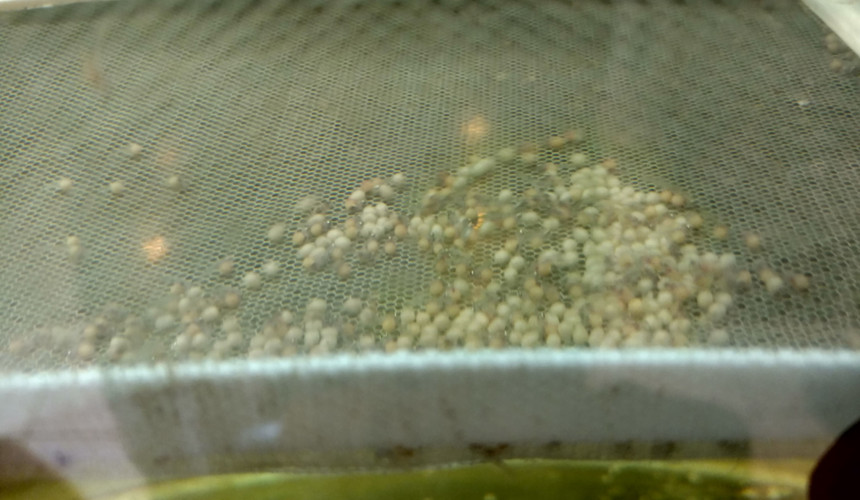
Hydroton clay pebbles (qty 2, price $50, source: Midwest Supplies)
Tubes, pumps, PVC, red/blue grow lights ($100, source: hardware store)
Fish - Tilapia (qty 25, price $70 with shipping, source: Tilapia Depot)
Step 2: Build


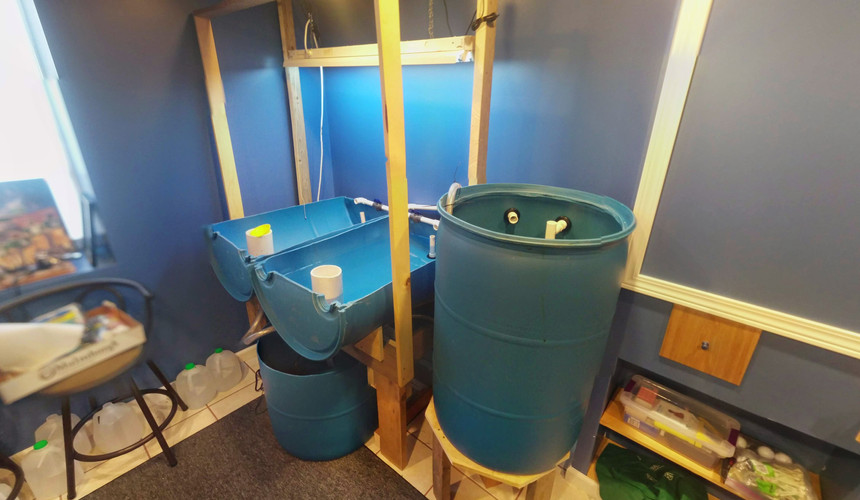


I started be using a reciprocating saw to cut 1 of my 3 barrels in half, length-wise. I then cut the tops off of the two remaining barrels. After thoroughly cleaning them, they were ready to be put into position.
I used leftover wood in my garage to build a stand that would hold the two halves in place as "grow beds". I cut down one of the other barrels to put underneath the grow beds and act as a sump tank. This is where the pump would sit and continually pump water to the holding tank where the fish are. I again built a short stand to raise the other barrel high enough to continually drain into the grow beds.


Step 3: Plant
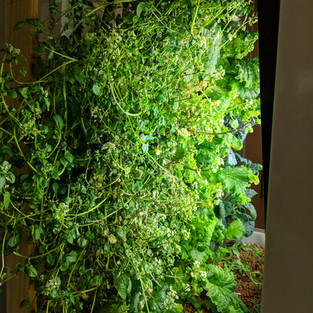
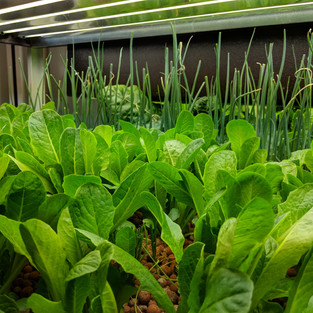
Add a few gold fish to the system and it starts running! It takes a month or so for the gold fish to make enough waste for the bacteria to develop. Once the bacteria is present you can start planting! Here you can see I've planted some jalapeno plants, lettuce, tomato, and green onions!
Step 4: Repeat


Once your system is established, you can now scale up. I did this by adding Tilapia. I chose tilapia because they have a quick growing cycle (9-12 months to be fully grown). After they reach a mature age, then you can eat them as well! I learned about 4 months after having the tilapia that they will also naturally bread. All you need to do is put a large clay pot in your aquarium!
Tilapia have a very specific mating ritual, where the female deposits the eggs in the clay pot. The male then will swim over and fertilize them. The female then swims back over, scoops up the eggs in her mouth and carries on. She holds the eggs in her mouth for about 10 days and then they begin to hatch. This is why they are known as "mouth brooders". I know, just when you thought you had heard it all!
Sharing
This was a great project. I learned so much about testing water PH levels, how tilapia breed, the nitrification process, and so much more. I was able to build a system in a month that was able to sustain itself almost entirely. All I needed was to add a little energy (pump and LED lights) and food (for the tilapia).
I have since carried on this work by proposing the project to students at my school. They now have two large aquaponic systems where they grow produce for our school during the winter.


.

Comments